

Rhino Roof Bars: The Ultimate Workhorse for Your Van
When it comes to getting more out of your van, few upgrades are as practical...
May
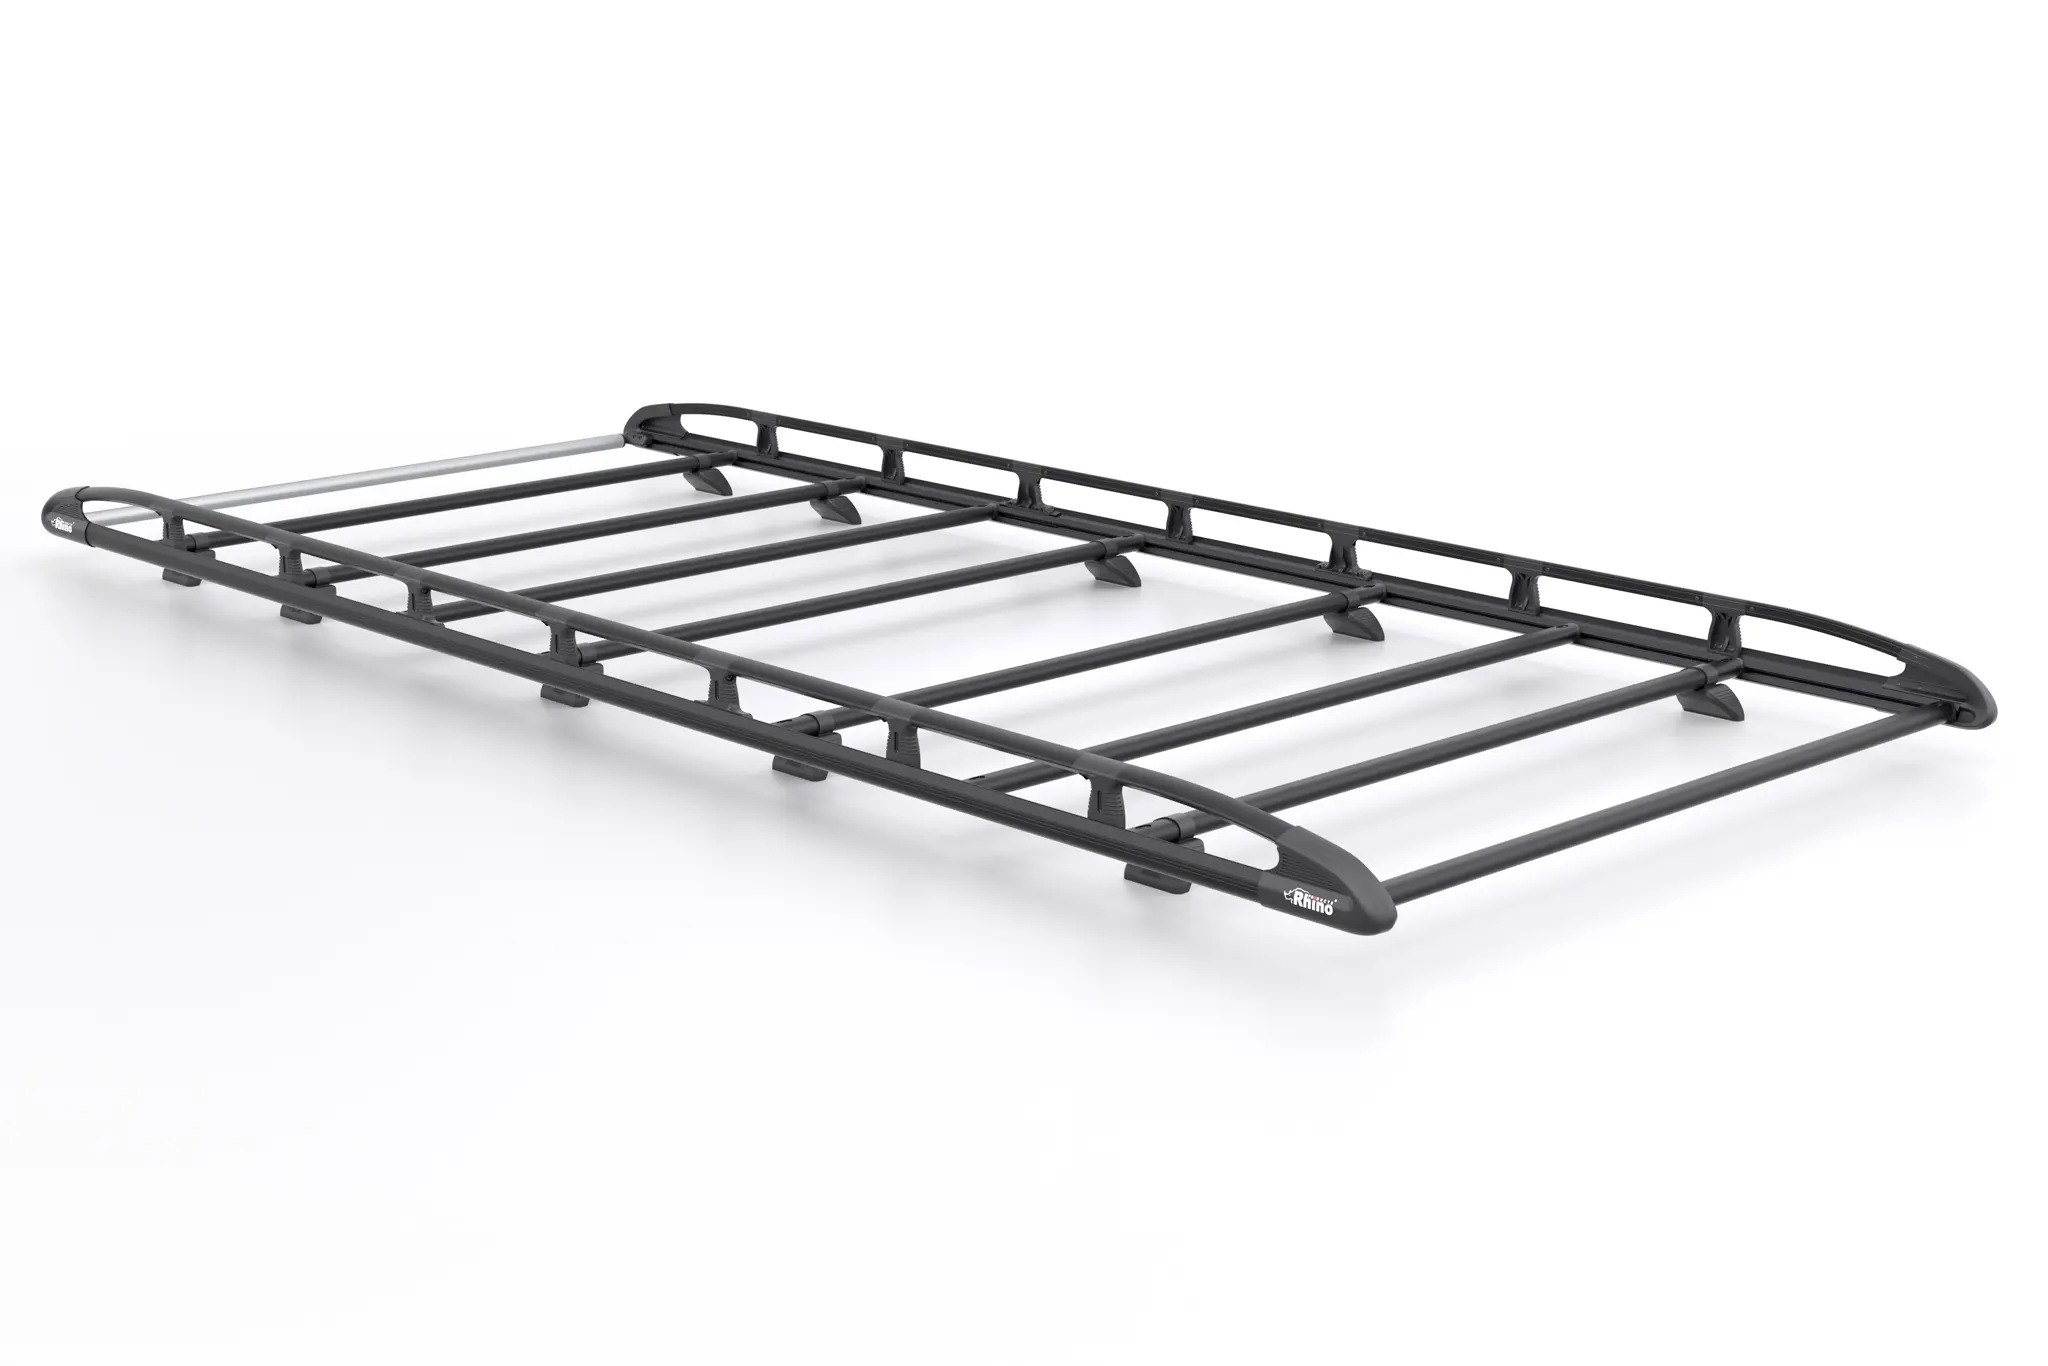
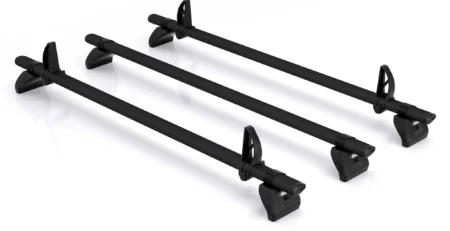
Installing a Rhino van roof rack is one of the best ways to increase your van’s carrying capacity, improve organisation, and safely transport ladders, pipes, tools, and materials. Whether you are fitting a roof rack to a work van or upgrading your commercial vehicle, this guide will walk you through the installation process step by step.
At Plyline North East Ltd, we supply and fit high-quality Rhino roof rack systems for a wide range of vans across the UK.
Before starting the installation, make sure you have:
Carefully unpack the Rhino roof rack kit and check all parts are included. Most kits contain:
Lay the components out clearly before beginning assembly.
Most modern vans have factory mounting points hidden beneath roof trim covers. Remove the covers carefully to expose the threaded fixing points.
Check your van handbook if you are unsure where the mounting positions are located.
Follow the manufacturer’s instructions to assemble the side rails and crossbars on the ground before lifting them onto the vehicle roof.
Ensure:
Do not fully tighten fixings until the rack is positioned correctly.
With assistance, carefully lift the assembled roof rack onto the van roof and align it with the mounting points.
Check:
Attach the mounting brackets using the supplied bolts and tighten gradually.
Use a torque wrench where recommended to avoid over-tightening. Proper torque settings help prevent damage to the roof or rack system.
Once fully aligned:
After installation, perform a short test drive and recheck all bolts.
To keep your Rhino roof rack safe and secure:
If you would prefer professional installation, Plyline North East Ltd offers expert fitting services for Rhino van roof racks, ladder racks, and van accessories. Our experienced team can help you choose the right roof storage solution for your van and business needs.
We also supply:
Contact Plyline North East Ltd today for expert advice and professional van accessory installation services.
When it comes to getting more out of your van, few upgrades are as practical...
When it comes to van conversions, ply lining, and van racking in the...
For tradespeople—especially electricians, plumbers, builders, and service engineers—good van organisation often has a direct effect...